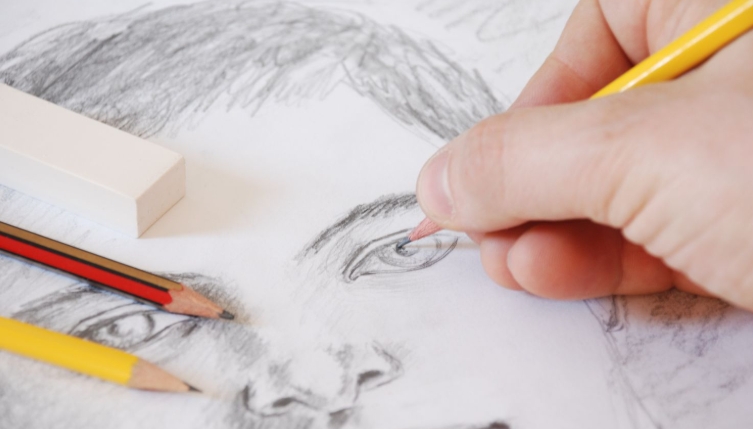
Drawing a face is a fun and creative activity for kids of all ages. Here is a step-by-step guide to help your child easily draw a face:
Step 1: Start with a circle
Begin by drawing a circle in the center of your paper. This will serve as the head of your face.
Step 2: Add two dots for eyes
Place two small dots in the upper part of the circle for the eyes. Make sure they are evenly spaced apart.
Step 3: Draw a nose
Below the eyes, draw a small triangle or oval shape for the nose. This can be placed in the center of the circle.
Step 4: Add a mouth
Draw a curved line underneath the nose for the mouth. This can be a simple smile or frown, depending on the expression you want to create.
Step 5: Include ears
On either side of the head, draw two small circles or semi-circles for the ears. Make sure they are level with the eyes.
Step 6: Fill in details
Add eyebrows above the eyes, any facial features such as freckles or dimples, and hair on top of the head.
Step 7: Color in your drawing
Once you are happy with the facial features, you can color them in using pencils, markers, or crayons. Be creative with your color choices!
Drawing a face is a great way for kids to express their creativity and practice their fine motor skills. Encourage your child to experiment with different facial expressions and styles to make their drawings unique. Enjoy the process and have fun creating!

